Unlock the Sweetness: Your Guide to 30-Minute No-Canning Apricot Jam
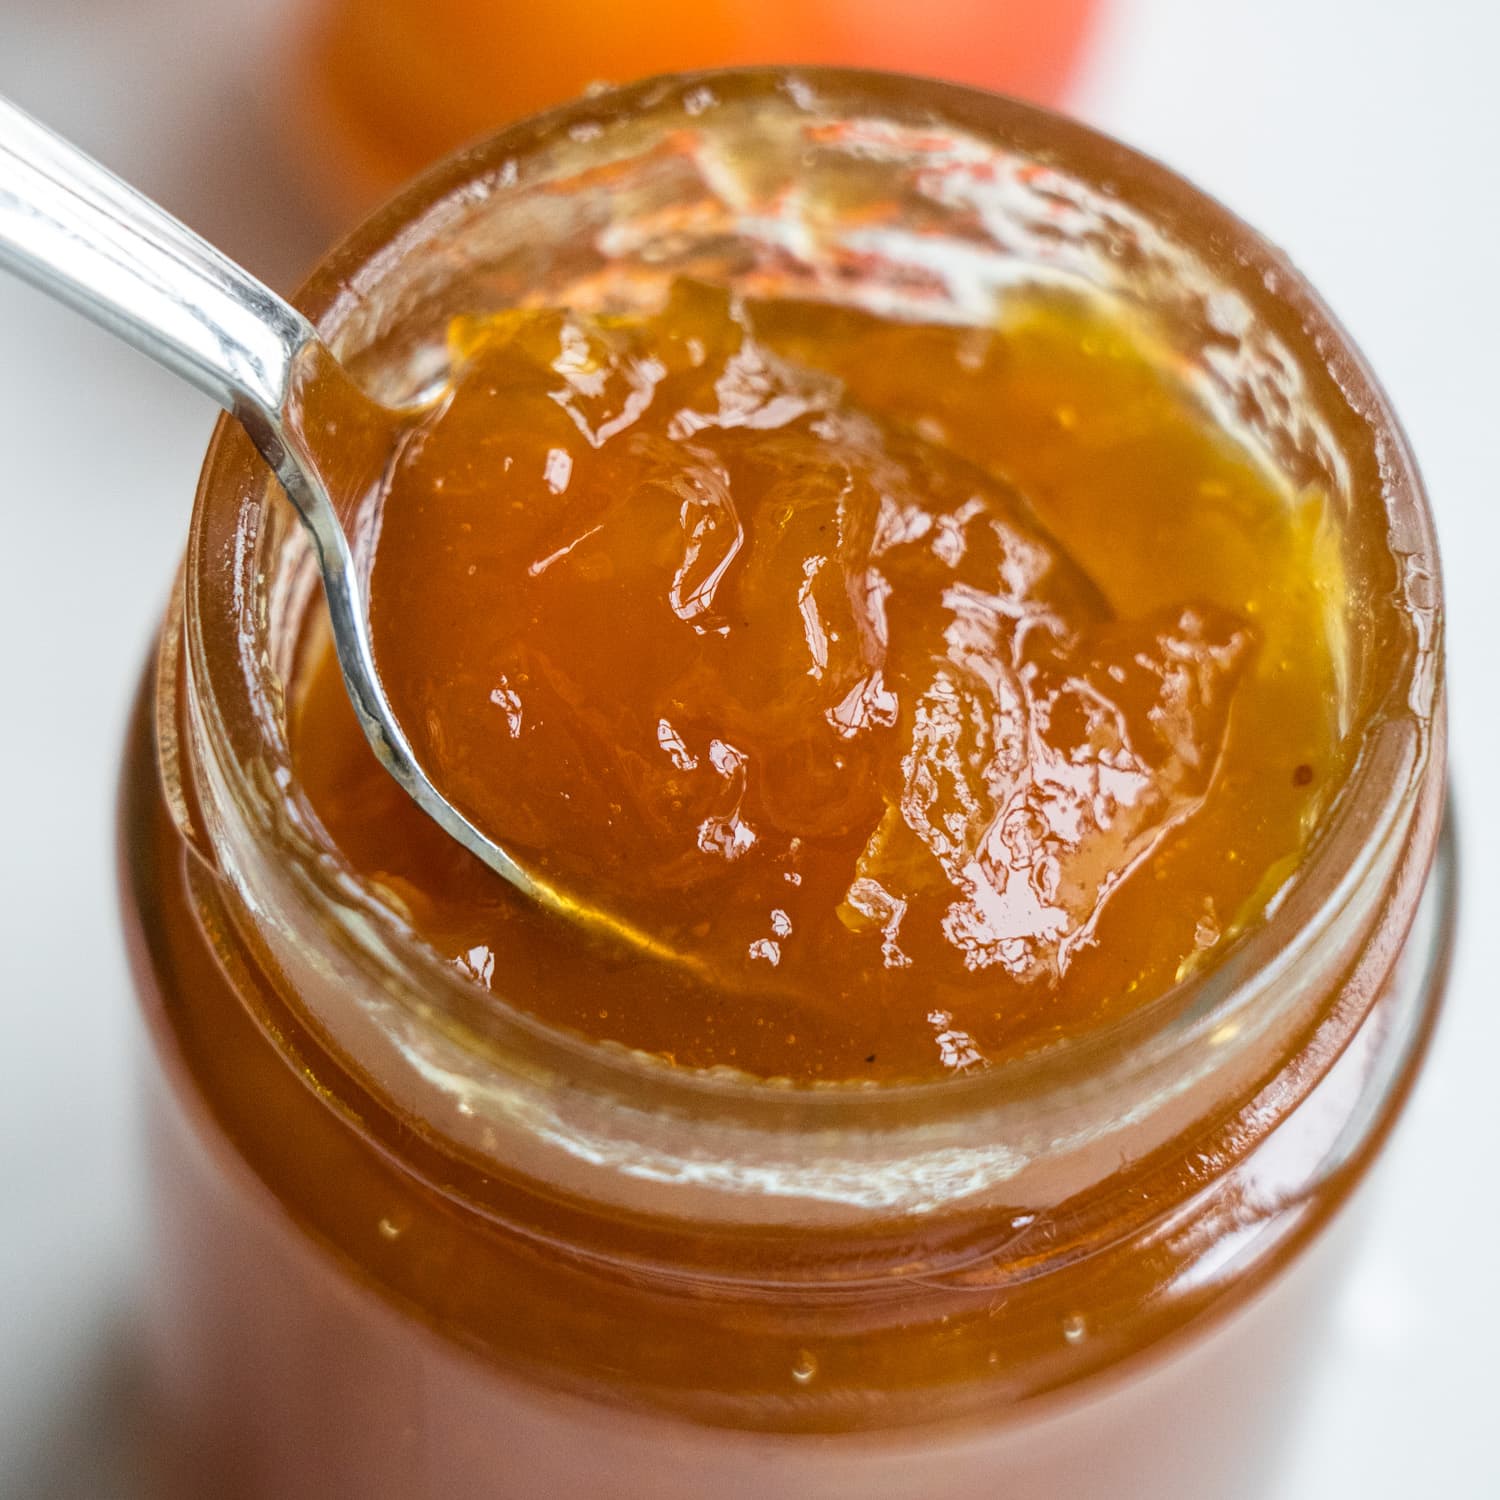
Imagine the vibrant taste of sun-ripened apricots, transformed into a luscious, golden jam that bursts with flavor on your morning toast. Now, imagine achieving this culinary delight in under 30 minutes, without the intimidating process of traditional water bath canning. Sounds like a dream? It's not! We're here to show you how to create the most exquisite
30 minute homemade apricot jam, a simple fruit spread that brings the essence of summer right into your kitchen with minimal fuss.
Forget the long hours, specialized equipment, and complex sterilization routines often associated with homemade preserves. This "no-canning" method revolutionizes the way you think about jam, making it accessible, enjoyable, and incredibly rewarding for even the busiest home cooks. It's a return to the simple pleasure of making food from scratch, reminiscent of the delicious spreads grandmas used to whip up, but with a modern, time-saving twist. If you're eager to dive deeper into quick jam recipes, be sure to check out our
Minute Apricot Jam: Quick & Easy Homemade Recipe for even more inspiration.
Embracing the Simplicity: Why No-Canning is a Game-Changer
For many, the thought of canning is enough to deter them from ever attempting homemade jam. The process can seem daunting, requiring specific equipment like large water bath canners, jar lifters, and a meticulous understanding of sterilization to ensure food safety. While traditional canning certainly has its place for shelf-stable goods, it's an unnecessary step for a quick-turnaround fruit spread designed for relatively immediate enjoyment or freezer storage.
The beauty of a
30 minute homemade apricot jam lies in its reliance on freezing for preservation. This method eliminates the need for any complex sealing processes, making it incredibly beginner-friendly. You simply cook your fruit and sugar mixture until it reaches the desired consistency, allow it to cool, then transfer it to freezer-safe containers. This approach not only saves significant time and effort but also preserves the vibrant, fresh flavor of the apricots even better, as the fruit isn't subjected to extended periods of high heat during a canning process. It’s a healthier, fresher tasting option that truly lets the natural goodness of the fruit shine.
Crafting Your Perfect 30-Minute Homemade Apricot Jam: A Step-by-Step Guide
Making this jam is surprisingly straightforward, relying on just a few key ingredients and a quick cooking process. Here’s how you can achieve a delicious spread that tastes like it took hours, not minutes.
Selecting and Preparing Your Apricots
The foundation of any great jam is quality fruit. For your apricot jam, choose ripe, fragrant apricots that are firm but yield slightly to gentle pressure. Avoid any with bruises or soft spots.
1.
Wash Thoroughly: Begin by washing your apricots under cool running water. This removes any dirt or residues.
2.
Pit and Chop: Slice the apricots in half, remove the pit, and then chop the fruit into smaller pieces. The size of your chop will influence the texture of your final jam – smaller pieces will create a smoother jam, while larger chunks will result in a more rustic, chunky spread.
3.
Mash or Process: This is where you decide on your jam's texture.
*
For a Smoother Jam: Place the chopped apricots into a food processor and pulse until you reach your desired consistency. Be careful not to over-process into a complete purée if you prefer some small fruit pieces.
*
For a Chunkier Jam: If you don’t have a food processor, or simply prefer a more textured jam, you can easily mash the apricots manually. A potato masher works wonderfully, or even the back of a wooden spoon. Some people enjoy leaving bigger chunks for a delightful bite.
The Quick Cook: From Fruit to Fabulous Jam
Once your apricots are prepped, the cooking process is rapid and rewarding.
1.
Combine Ingredients: In a large, heavy-bottomed pot or Dutch oven, combine your mashed apricots with sugar. The general ratio is often 1 part fruit to 0.75-1 part sugar by weight, but this can be adjusted to your preference and the sweetness of your apricots. For instance, if you have very sweet apricots, you might use less sugar. A splash of fresh lemon juice is also highly recommended – it brightens the flavor of the apricots and helps activate natural pectin, aiding in setting the jam.
2.
Bring to a Boil: Place the pot over medium-high heat, stirring constantly until the sugar dissolves and the mixture comes to a rolling boil.
3.
Simmer and Thicken: Reduce the heat to a medium-low and continue to simmer, stirring frequently, for about 10-15 minutes. The jam will visibly thicken as it cooks. You'll know it's ready when it coats the back of a spoon and leaves a clear trail when you run your finger through it, or when a small dollop placed on a chilled plate wrinkles when pushed with your finger. Remember, it will thicken further as it cools.
4.
Optional Flavor Enhancers: To elevate your
30 minute homemade apricot jam, consider adding a touch of vanilla extract (after removing from heat) or a pinch of ground cardamom, ginger, or almond extract during the last few minutes of cooking. These additions beautifully complement the apricot flavor.
The Freezer Advantage: Storing Your Homemade Apricot Jam Without the Fuss
This is where the "no-canning" magic truly shines. Freezing is an incredibly effective and safe way to preserve your delicious apricot jam, maintaining its fresh taste and vibrant color for months.
1.
Cool Down: Once your jam is cooked to perfection, remove it from the heat and allow it to cool slightly at room temperature for about 15-20 minutes. This helps prevent condensation when you transfer it to containers.
2.
Prepare Containers: Use clean, freezer-safe containers for storage. Mason jars are excellent, but ensure they are tempered for freezing and leave adequate headspace. Plastic freezer containers or even heavy-duty freezer bags (laid flat) also work well.
3.
Fill with Care: Ladle the slightly cooled jam into your chosen containers, leaving about ½ inch (1.25 cm) of headspace from the top. This is crucial as jam expands when frozen, and leaving this space prevents your jars from cracking or containers from bursting.
4.
Refrigerate Overnight: Screw on the lids tightly and refrigerate your jam overnight. This allows it to fully set and cool completely before freezing, which is better for the texture and prevents thermal shock when it goes into the freezer.
5.
Freeze for Freshness: The next day, transfer your jars or containers to the freezer. Your delightful
30 minute homemade apricot jam will stay fresh for up to a year, ready to be enjoyed whenever a craving strikes. For more in-depth tips on this method, check out our guide on
Homemade Apricot Jam in 30 Mins: Freeze for Freshness.
6.
Thawing and Enjoying: To enjoy your frozen jam, simply transfer a jar from the freezer to the refrigerator and let it thaw overnight. Once thawed, it will keep beautifully in the fridge for several weeks.
Tips for Jam-Making Success and Beyond
*
Don't Skimp on Sugar (Initially): While you can adjust sugar to taste, remember that sugar isn't just for sweetness; it also acts as a preservative and contributes to the jam's texture. Reducing it too much without a pectin additive can result in a runnier spread.
*
Keep Stirring: Especially during the boiling and simmering phases, continuous stirring helps prevent the jam from sticking to the bottom of the pot and burning, ensuring even cooking.
*
Small Batches are Best: For a true 30-minute experience, stick to smaller batches (e.g., 2-4 lbs of fruit). Larger quantities will take longer to cook down and thicken.
*
Beyond Apricots: The beauty of this quick freezer jam method is its versatility! Just like Grandma's recipe, you can apply these steps to almost any fruit. Think luscious strawberry jam, tangy raspberry, sweet peach, or even a delightful mixed berry spread. Simply follow the same preparation and cooking guidelines, adjusting sugar levels based on the fruit's natural sweetness.
This no-canning
30 minute homemade apricot jam is more than just a recipe; it's an invitation to reclaim the joy of making delicious food from scratch without the pressure of perfection. It's about savoring the fresh flavors of the season, creating something wonderful with your own hands, and having a ready supply of sunshine in a jar.
Conclusion
There's nothing quite like the taste of homemade jam, and with this simple, no-canning method, that delightful experience is closer than ever. In less than 30 minutes, you can transform fresh apricots into a rich, flavorful spread that will elevate your breakfast, desserts, and snacks. This
30 minute homemade apricot jam is proof that making delicious, wholesome food doesn't have to be complicated or time-consuming. So, grab some ripe apricots, embrace the ease of freezing, and prepare to indulge in the most wonderfully simple fruit spread you've ever made. Your taste buds (and your busy schedule) will thank you!